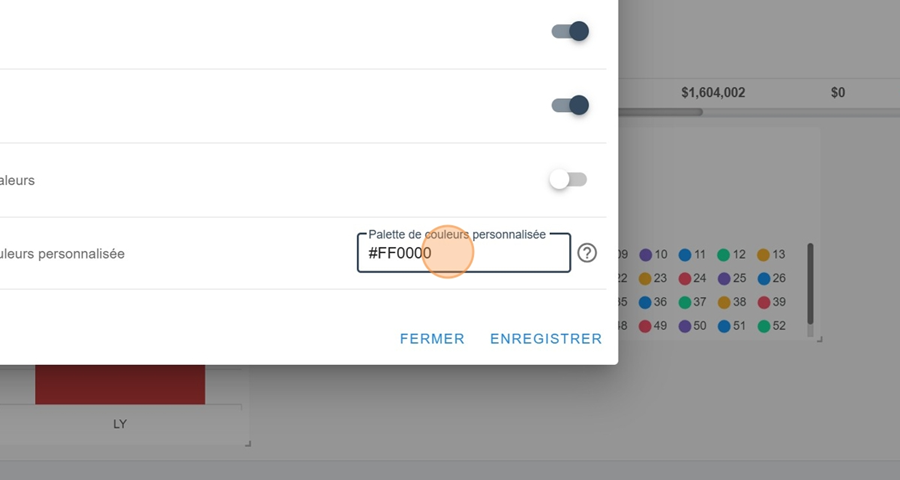
Here’s the different options for setting up a widget that shows a pie chart
For more info about setting up your Dashboard and different Widgets, check out this article:
Creating a dashboard and adding widgets
Creating a widget
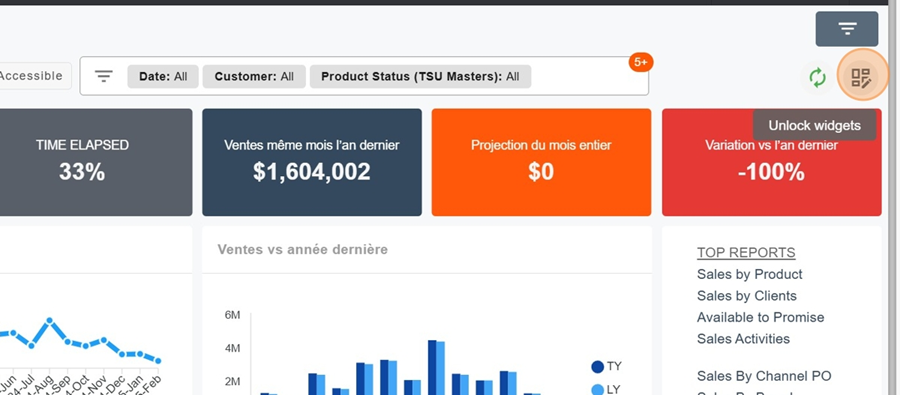
To add a widget, first click on the squares icon at the top right of the screen
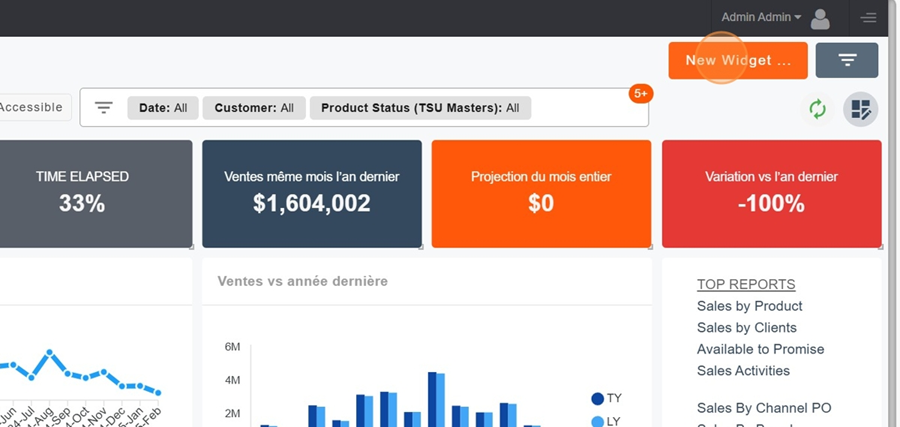
Then click on the orange box New Widget
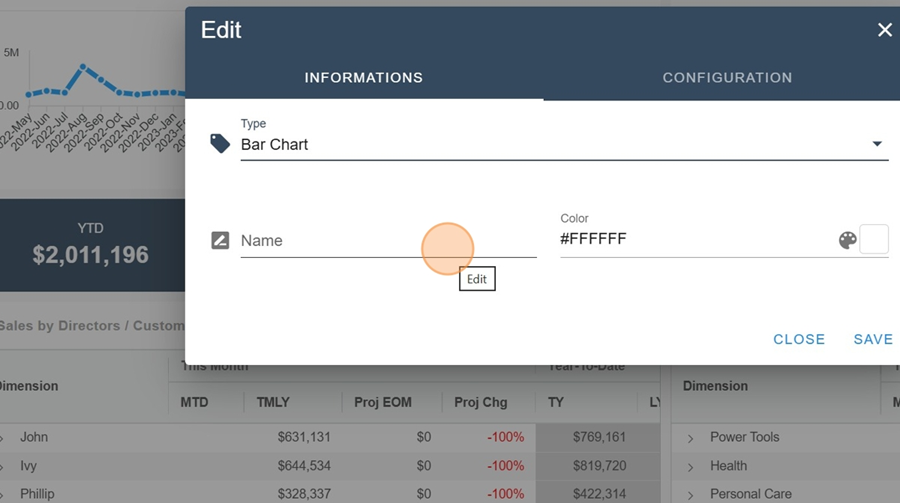
Name your Widget.
Pie chart
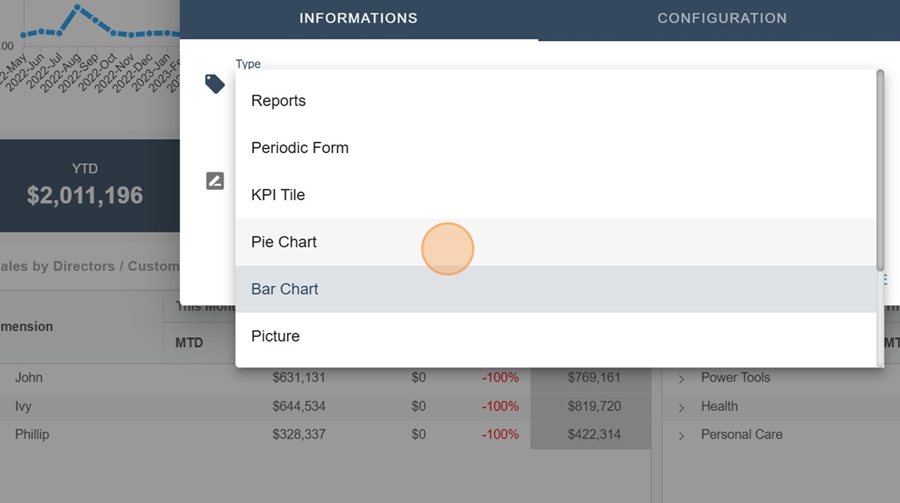
Once you've created your widget, pick the pie chart option under Type, in the information section
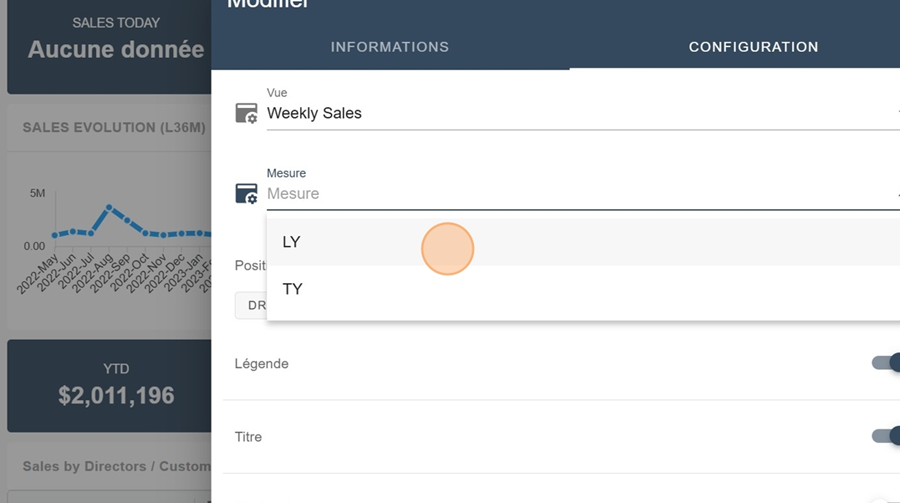
Next, choose your view and the metrics you want to see in your chart
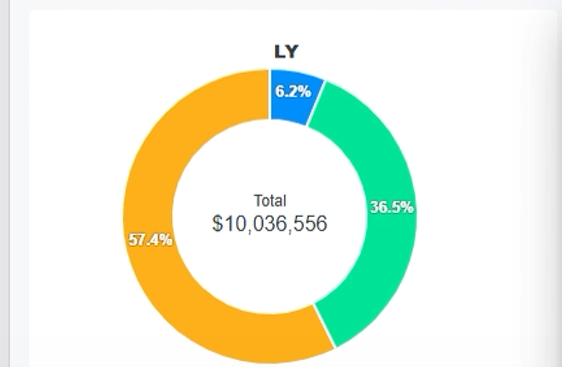
Now you'll see your chart pop up
It can be interesting to repeat these steps by copying your diagram and this time picking another measurement, to compare (for example here, last year versus this year)
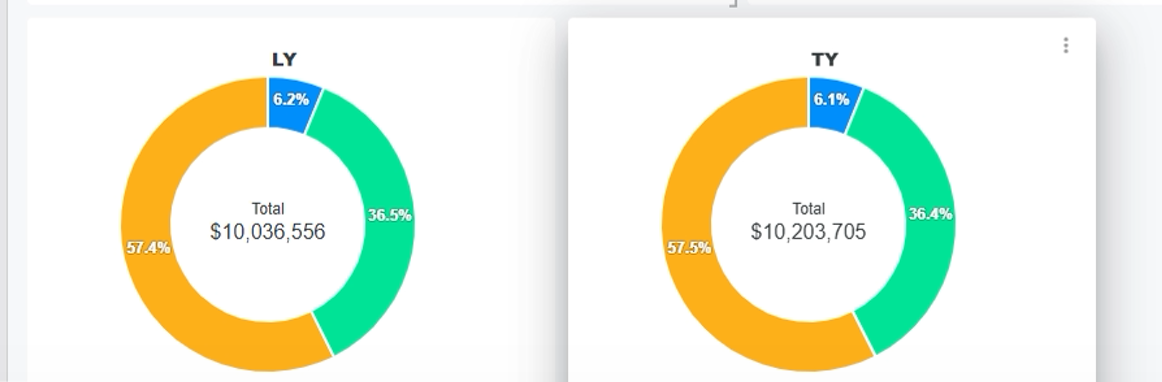
Again, you can change the color palette by typing the palette code into the settings. This can be handy if, for example, you want to assign a color to a specific brand