To create a dashboard and add widgets to it, you always need to create a metric report first. See this article
Creating a Weekly Report - Example for Dashboard
This article gives an example of creating a weekly metric report related to the article explaining how dashboards and different widgets work in Pawa
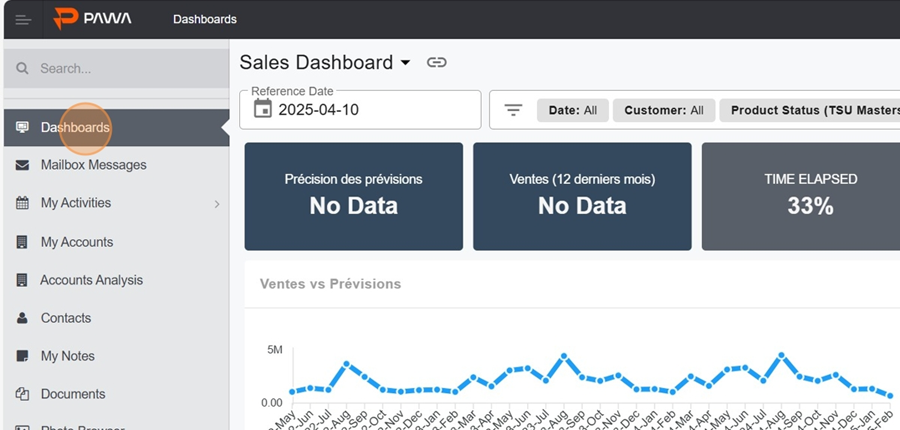
To create a dashboard, go to the Dashboards section
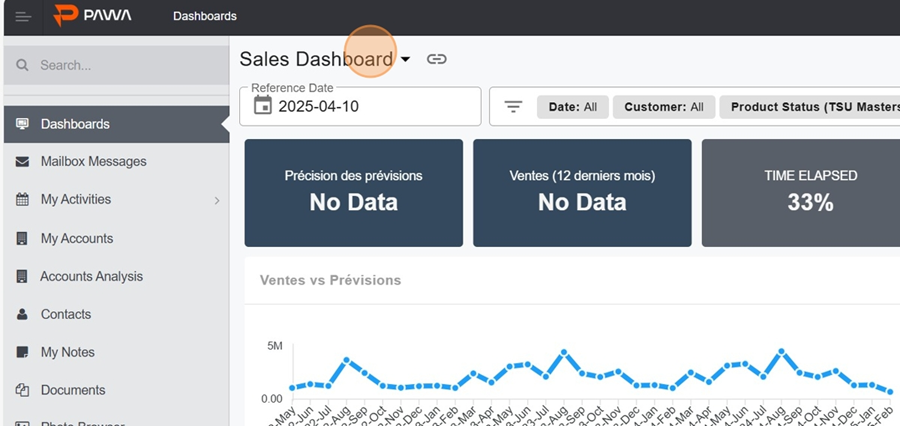
Click on the dashboard title
Click the + icon and name your dashboard

You can add a description to your dashboard to define its purpose. This section will show up automatically whenever you check it later
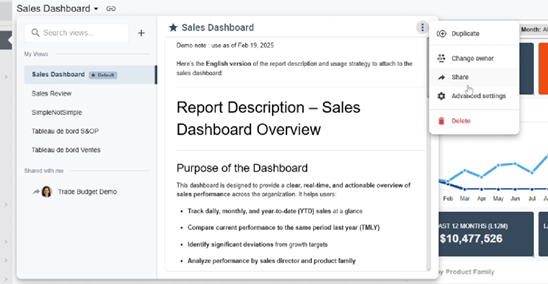
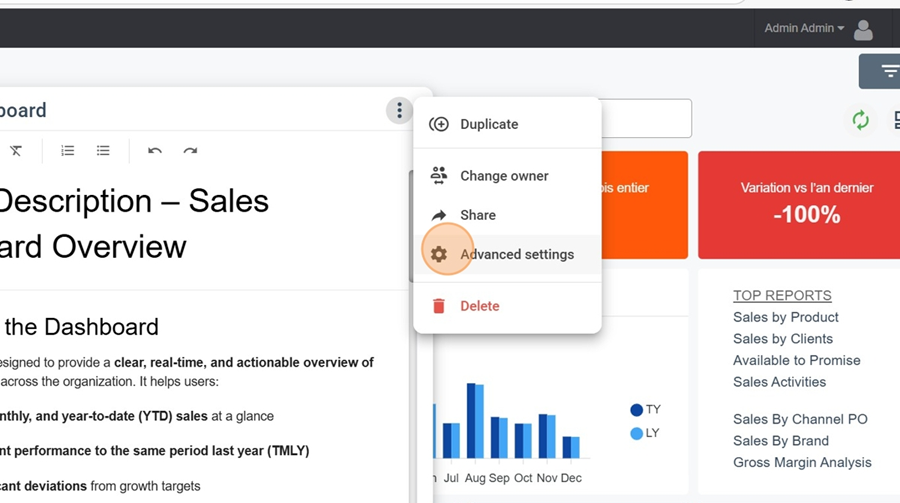
By clicking on the three dots at the top right and picking Advanced settings from the dropdown, you can turn options on or off
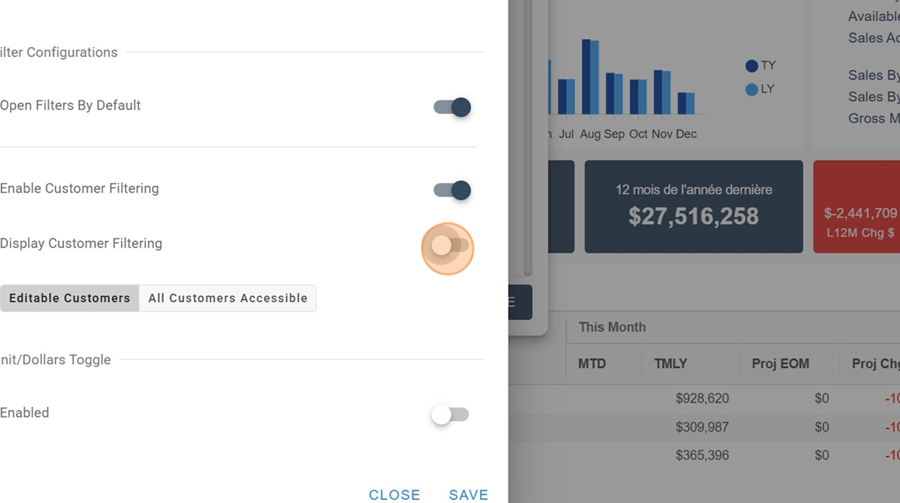
For example, here we turn on this option and click save
The next sections will describe the different widgets you can use when viewing or creating a dashboard
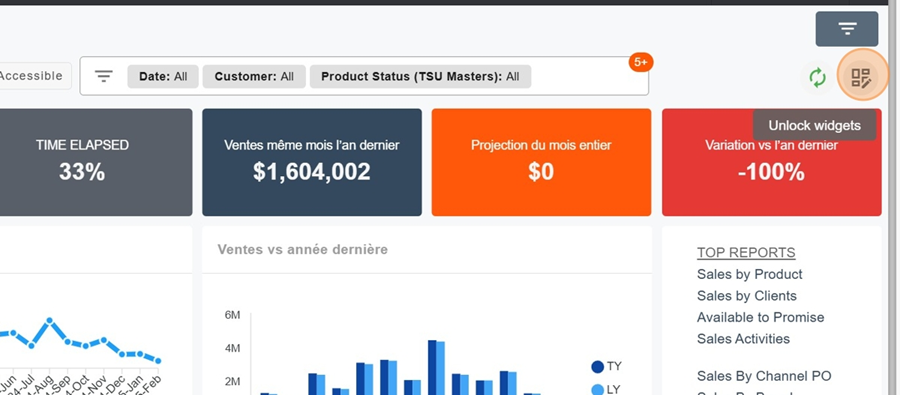
To add a widget, first click on the squares icon at the top right of the screen
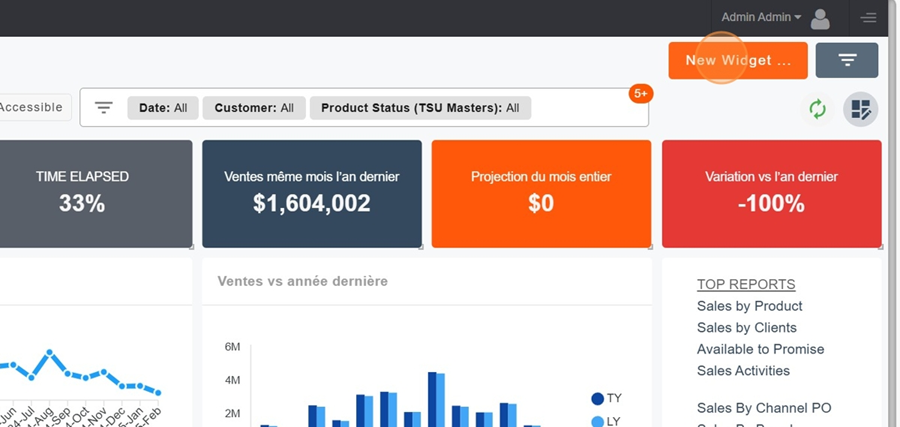
Then click on the orange box New Widget
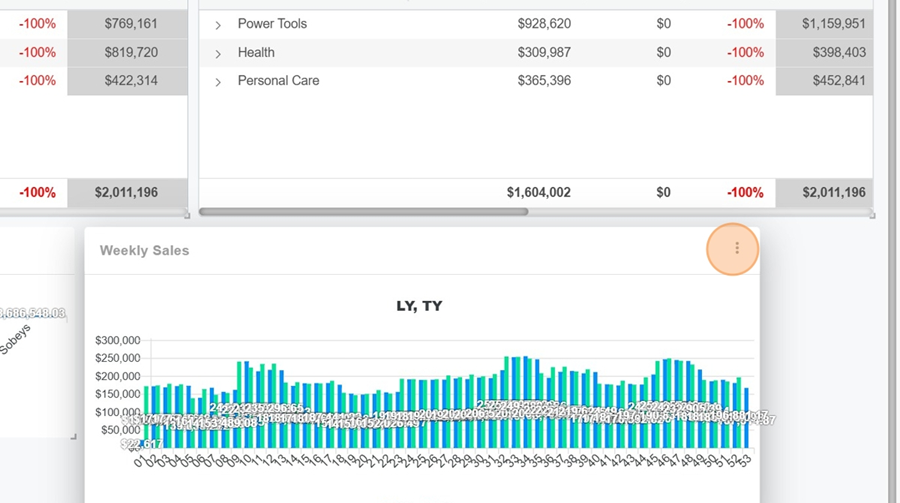
Name your Widget. For this example, we'll name it Weelky Sales (referring to the reports created in the article linked at the top of this one)

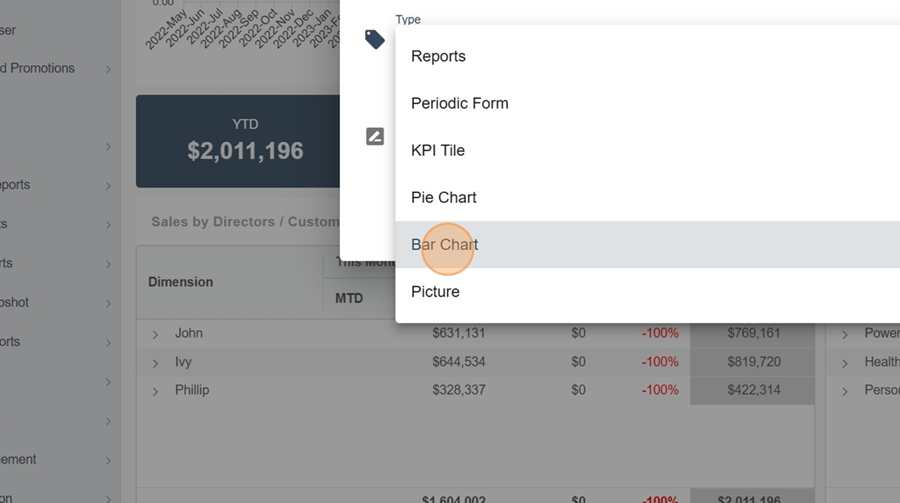
Next, select the type of Widget
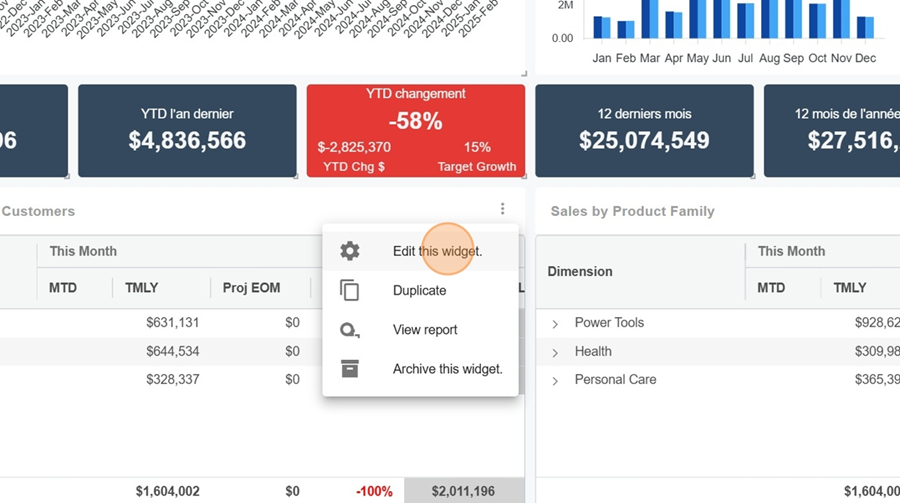
To edit an existing widget, click the three dots at the top right of the Widget
Click the option to edit this widget in the dropdown menu
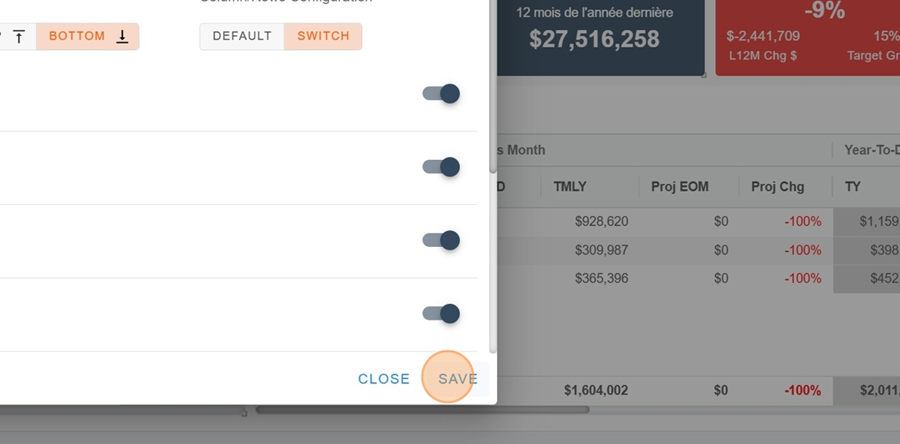
Make the changes you want and click save
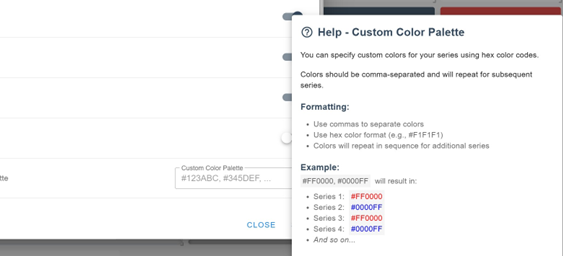
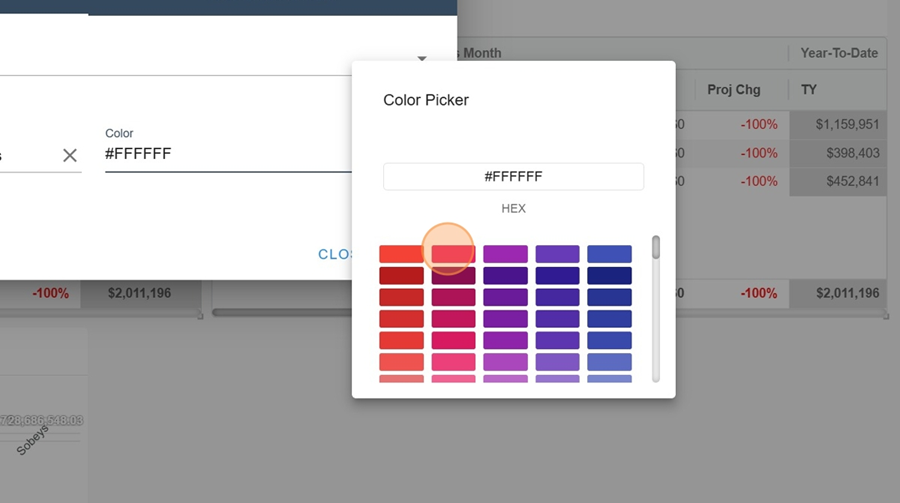
In the info section, you can set a background color for your table

In the configuration section, you can enter a code that matches a custom color palette