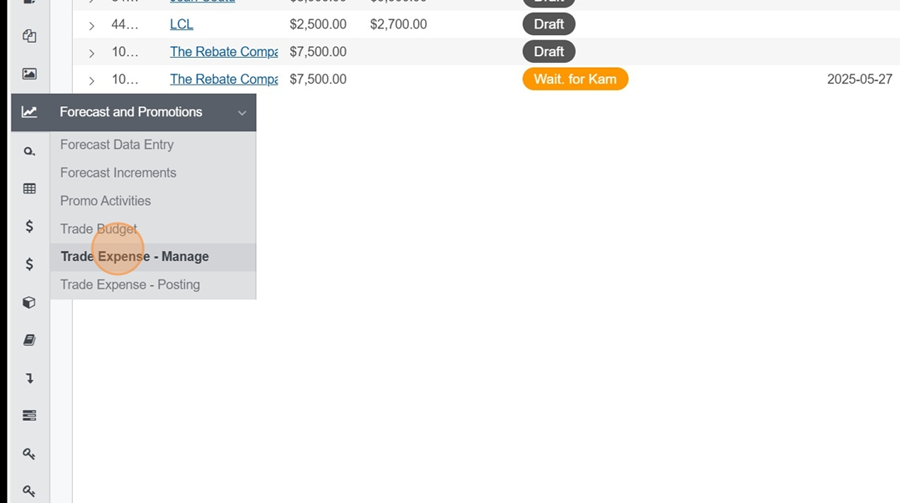
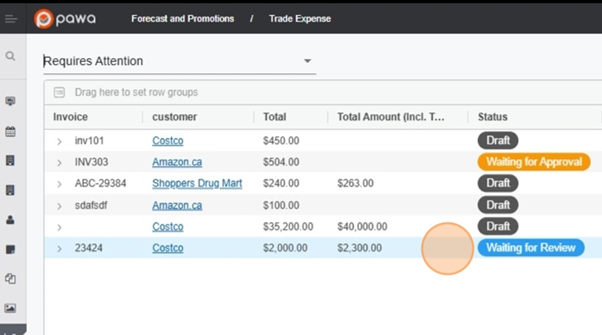
The Trade expense option in the dropdown menu Forecast and Promotion is the place to document all transactions.
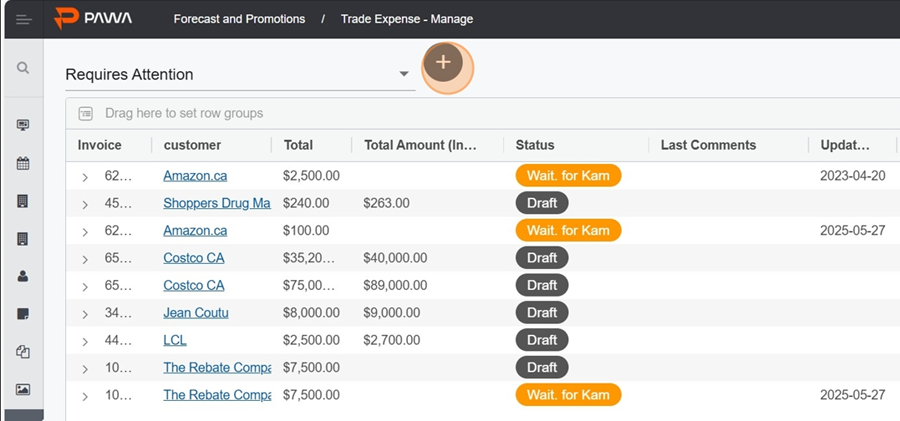
To create a new invoice, first click the + at the top of the view, to the right of the title
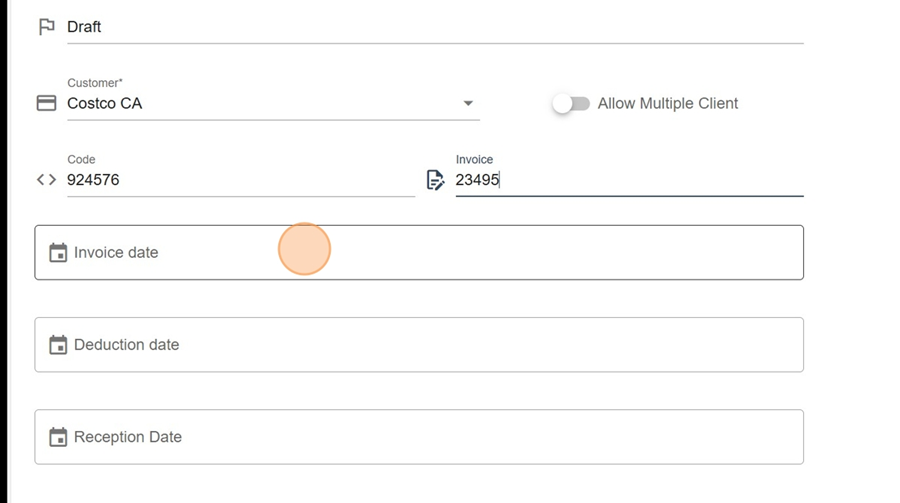
Then fill in the expense info, like:
The client
Invoice code and number
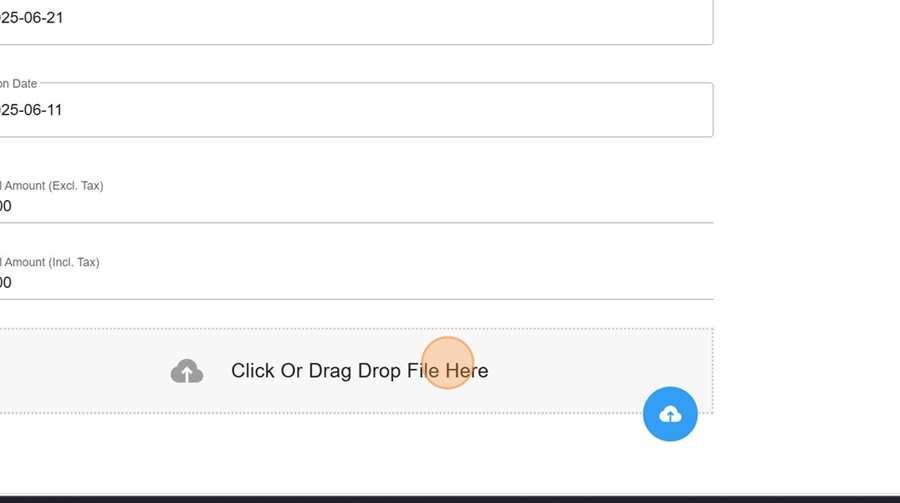
Transaction, deduction, and receipt dates
Invoice amount before tax
Invoice amount after tax
You can add an attachment/document to the expense (like, for example, a scanned copy of the invoice), by clicking the cloud icon at the bottom of the screen
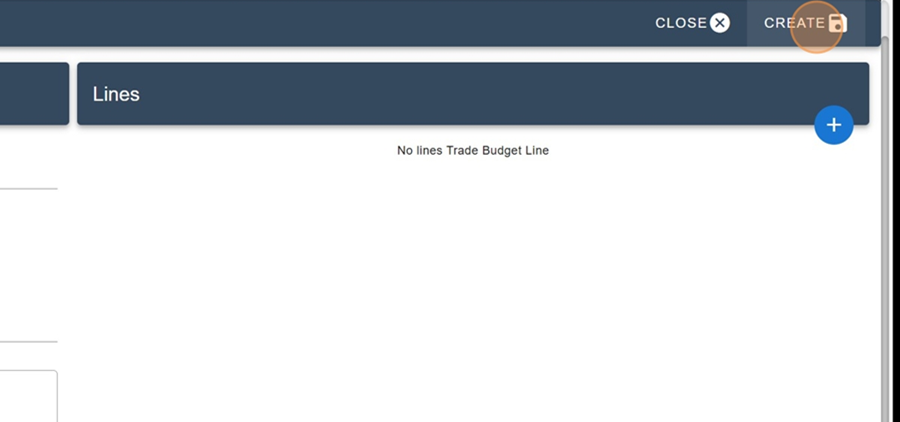
Click on CREATE in the top right to create the invoice

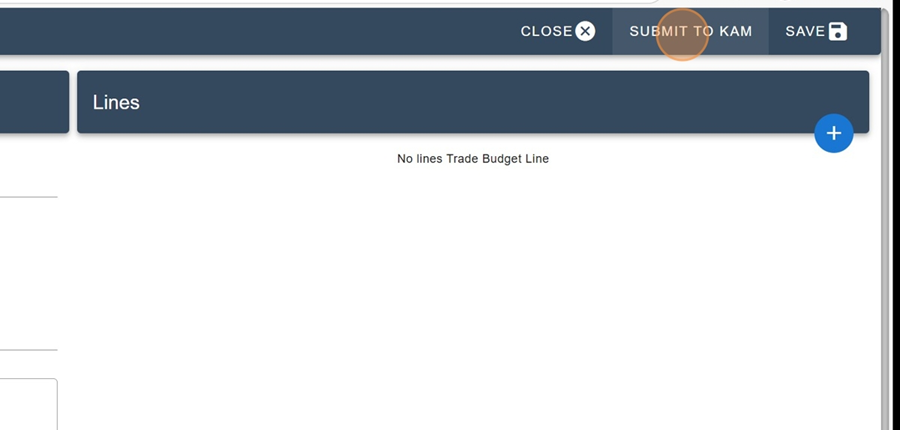
To send the invoice to the KAM, just click the SUBMIT TO KAM button at the top right
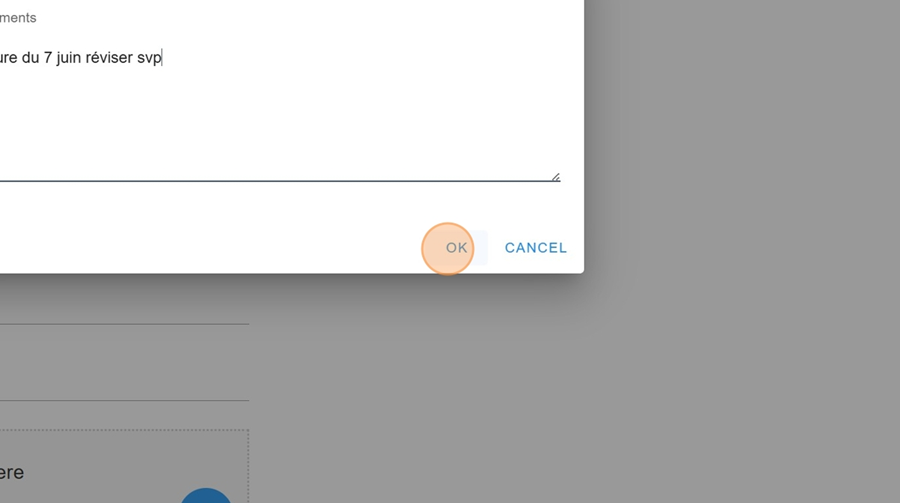
You can leave a comment in the box. When you're done, just click OK
The KAM can then view the invoice by clicking on it
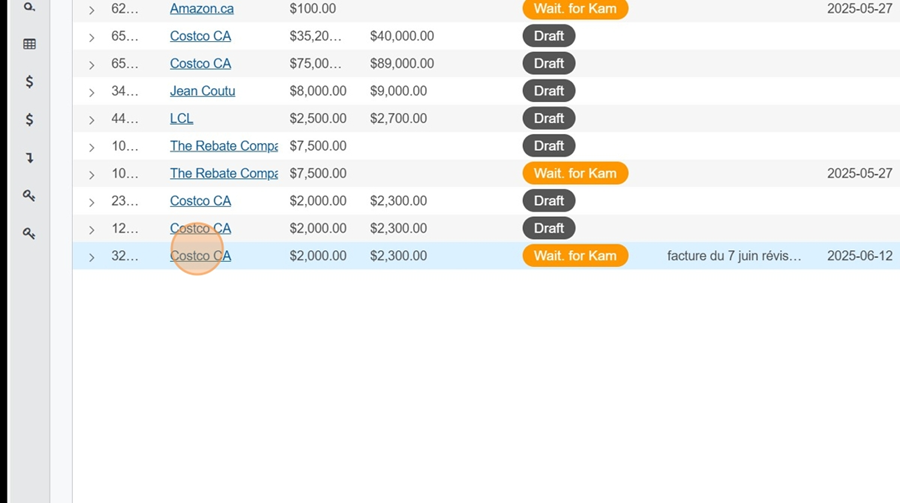
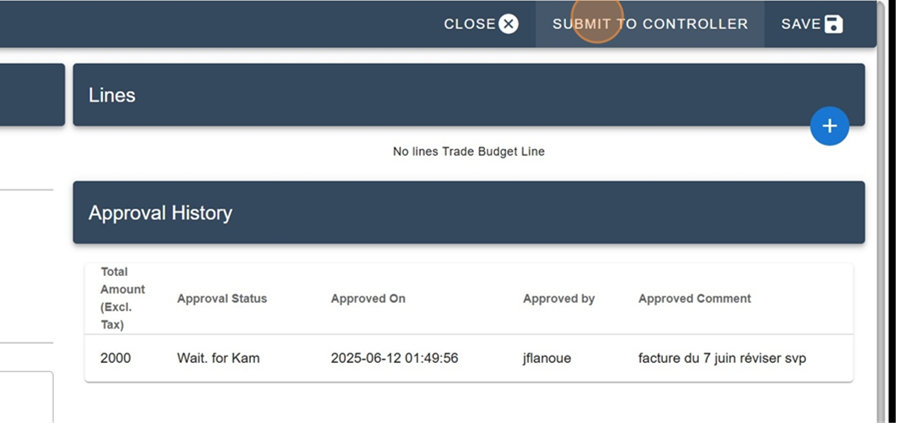
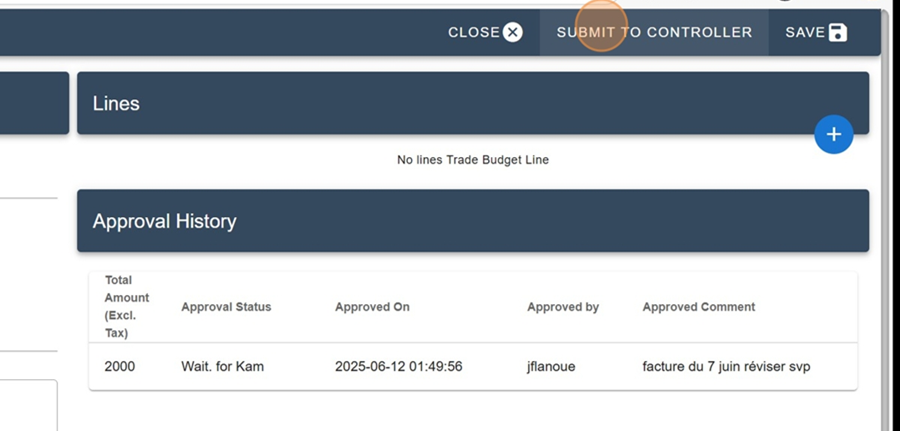
If the KAM approves the invoice, they can submit it to the controller by clicking the Submit to Controller button in the top right corner
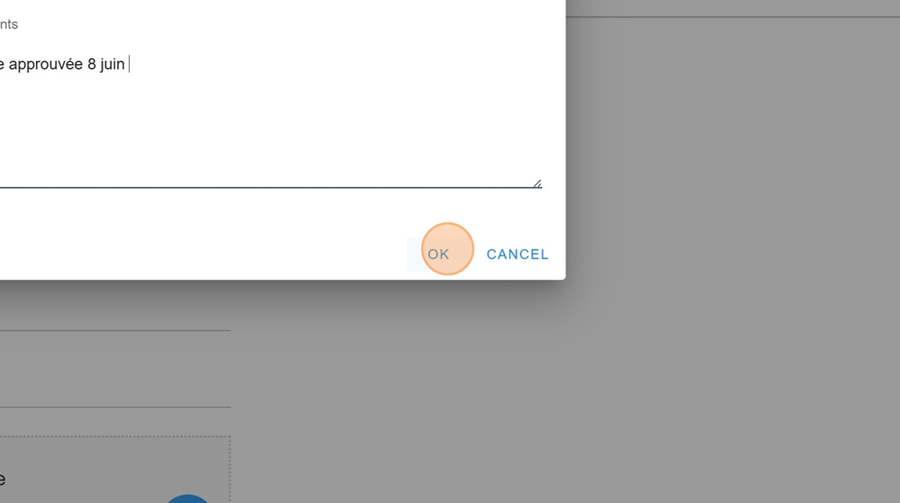
You can leave a comment in the box. Then click OK
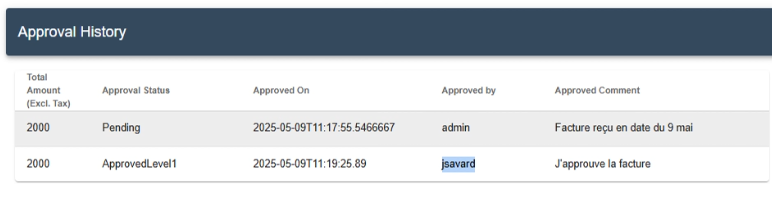
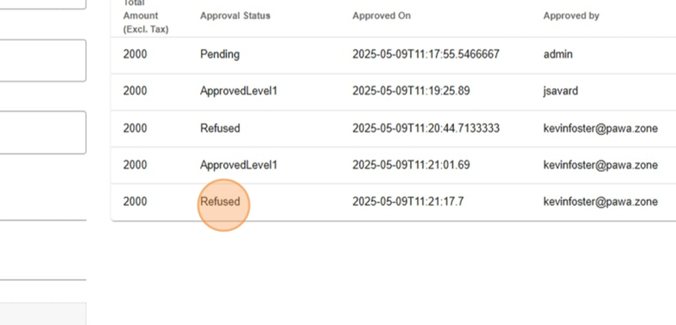
You can see the steps of the invoice approval and the people involved in this approval, by specific date, in the Approval History
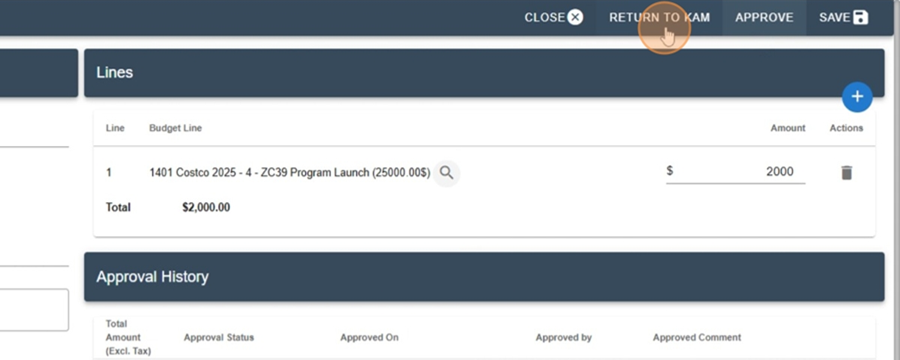
After the invoice is submitted by the KAM, the controller can view it.
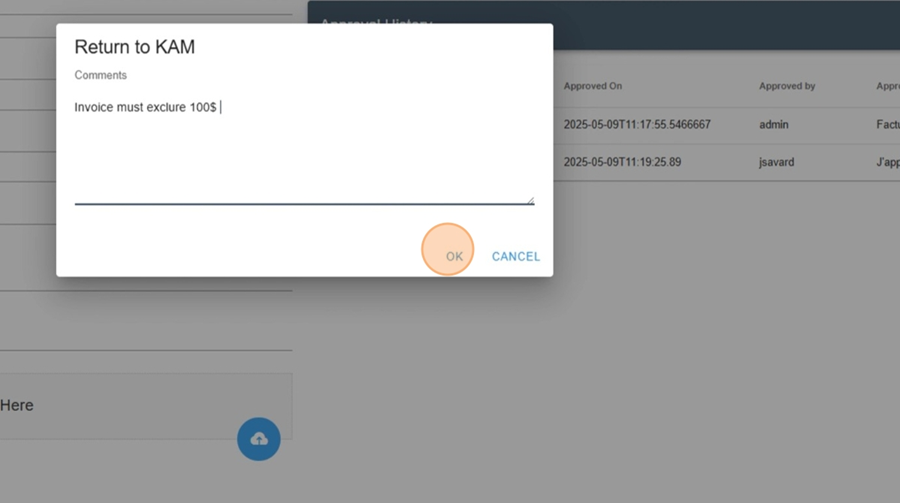
They’ll have the option to send the invoice back to the KAM for changes, by clicking the RETURN TO KAM button at the top right
The controller can leave a comment to guide the KAM on what needs to be changed
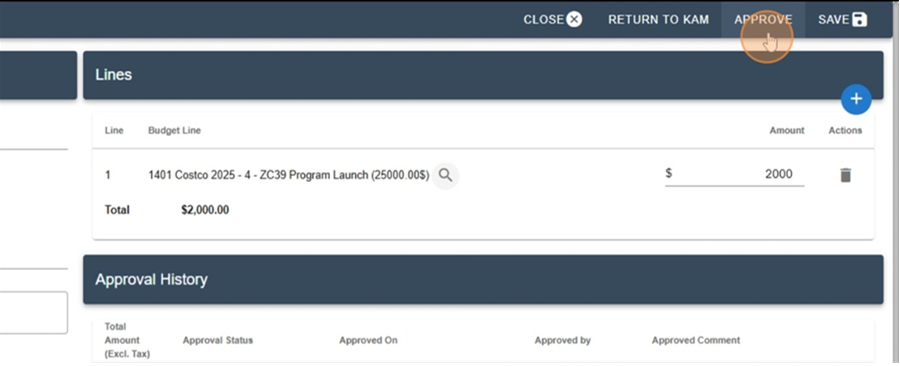
The controller also has the option to approve the invoice directly by clicking the APPROVE button, in the top right corner
When the controller sends the invoice back to the KAM, it will show in the approval history that there was a rejection.
So the KAM can make the needed changes and send the invoice back for approval to the controller