The photo browser allows you to view all the photos taken on-site, in-store.
Each photo is categorized and identified by its store, banner, and publication date in the browser.
The photo browser is especially useful for generating POS analyses, as the photos document information that might not necessarily be included in sales reports.
You can easily search for a photo using the filter options available at the top of the screen.
Photo browser > Filter the photos
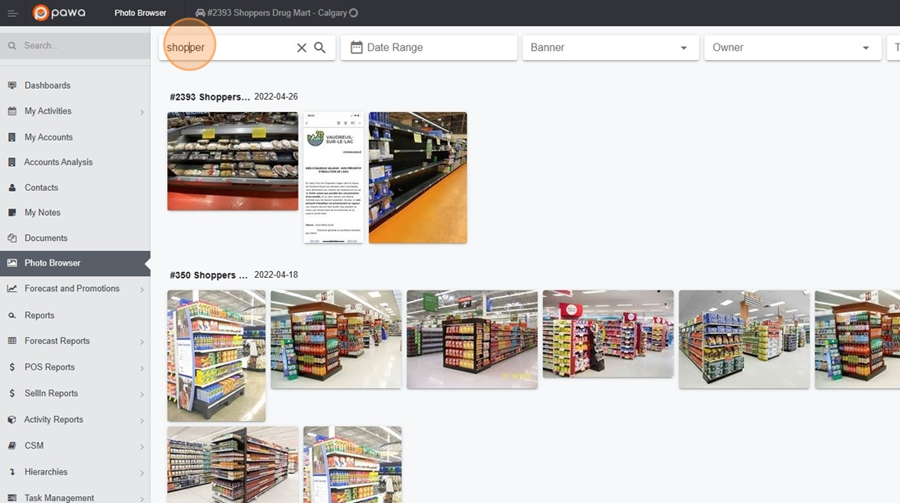
The search bar at the top left is a handy tool to find a photo from a specific banner. For example, if you want to see photos taken at Shoppers, just type it into the search bar, and the photos from that banner will automatically appear.
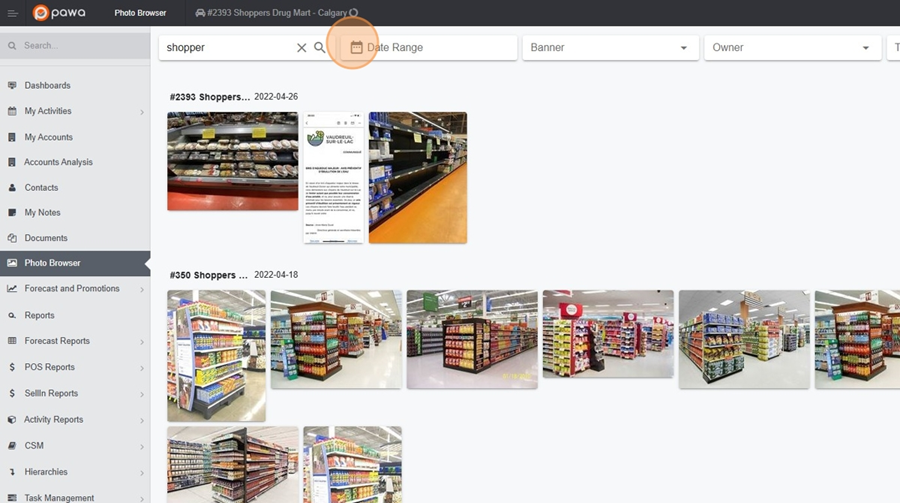
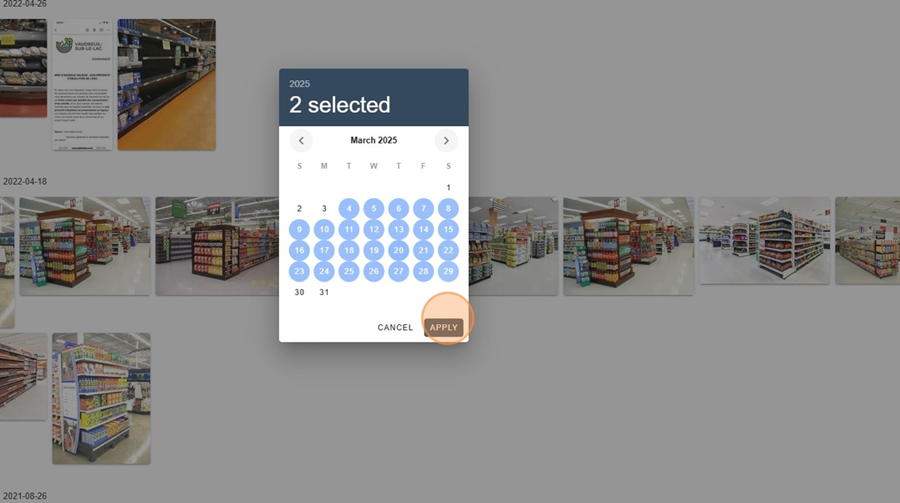
To filter photos by dates, just click on the calendar icon located at the top of the page.
Then select the start and end dates of the time range you want to view.
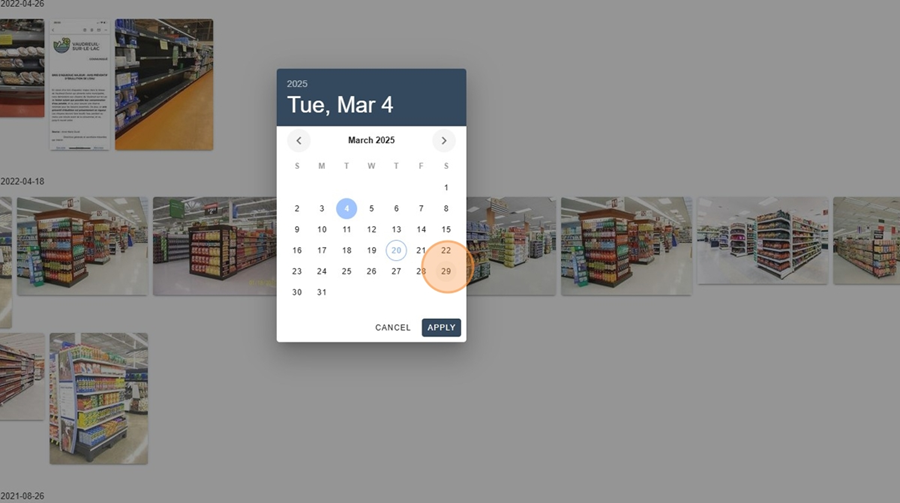
Click on Apply, at the bottom right.
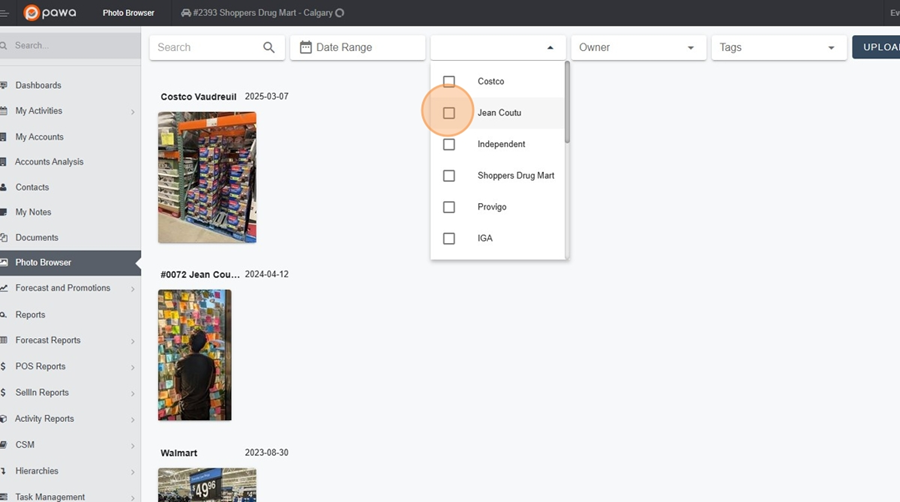
You can check your photos by banner. Just click the Banner box at the top center of the screen.
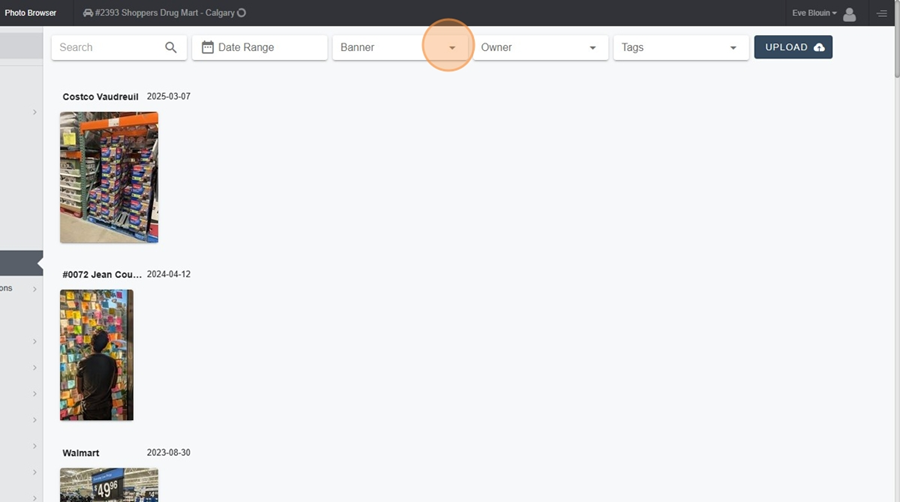
Then check the option you are interested in from the dropdown menu.
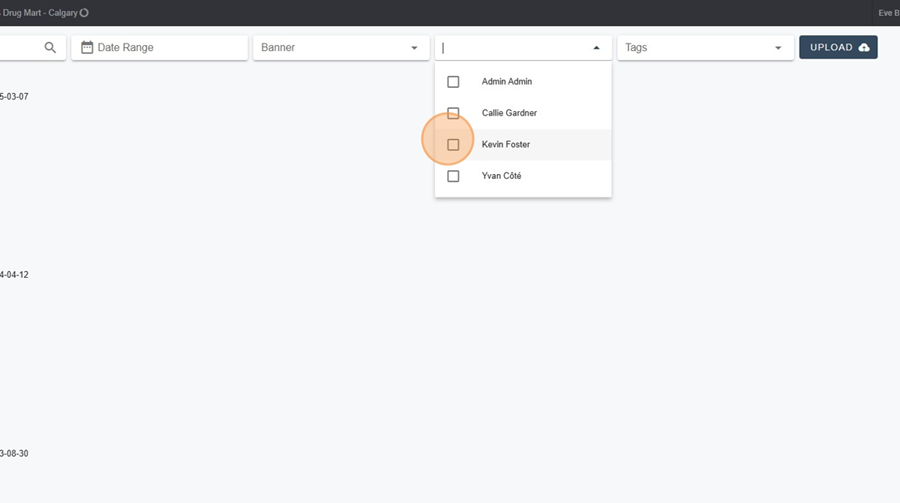
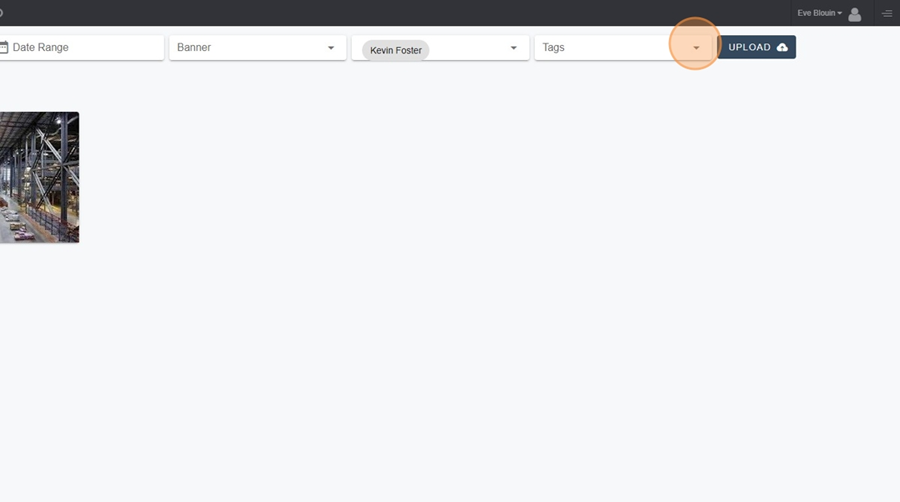
It’s also possible to filter photos by the person who uploaded an image. Just click on the Owner box at the top of the screen.
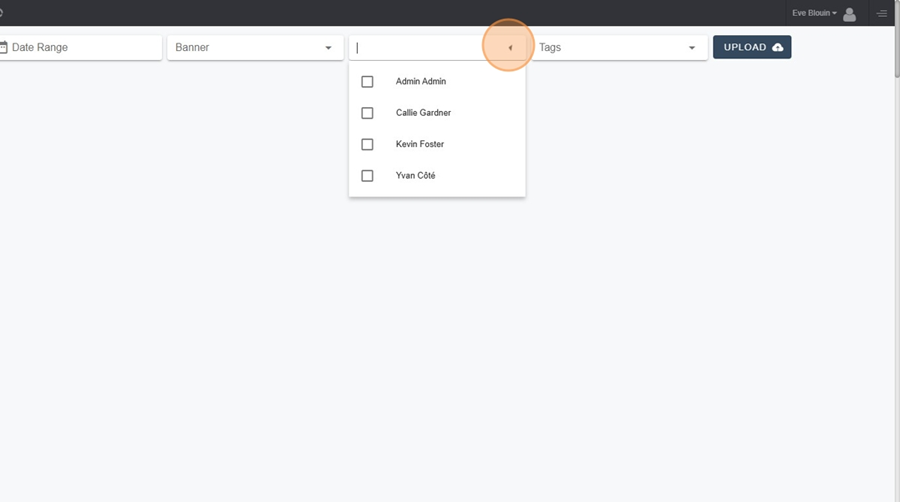
Then check the person you’re interested in from the dropdown menu to access only the photos they uploaded.
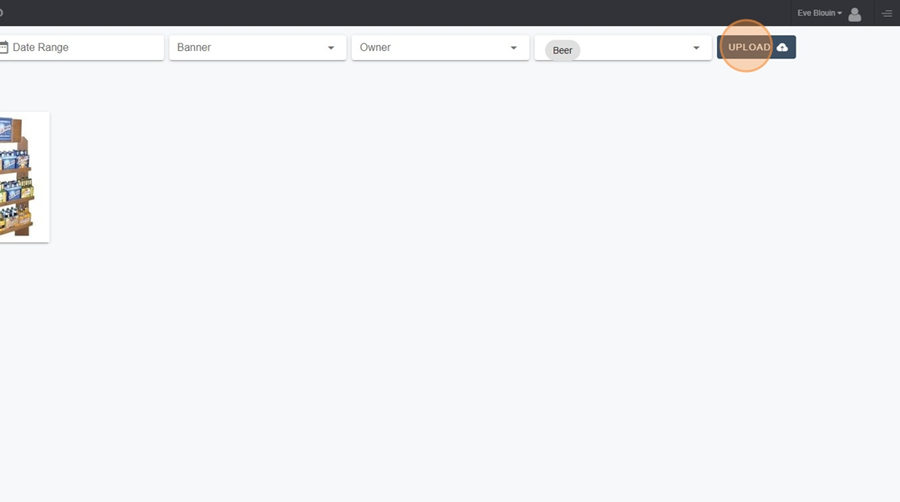
You can view photos based on their assigned tag. Just click on the Tags button, located at the top-right corner of the screen.
Then, check the tag that interests you. For example, here, you can choose to only see photos of beers.

You can upload photos directly in the browser from your phone. For the procedure, refer directly to this article.
Upload a Photo to PAWA from My Phone
This article explains the procedure to upload a new photo from your phone to PAWA.
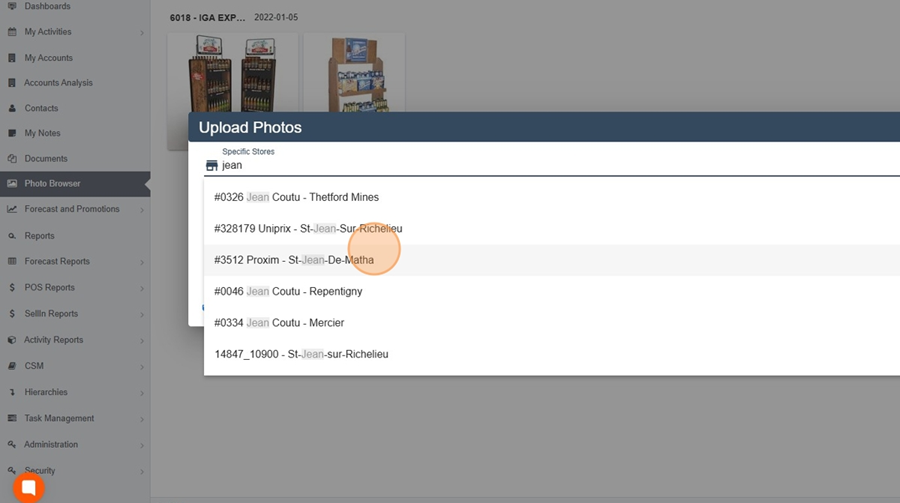
To upload a photo, click on the Upload button, located at the top left of the screen.
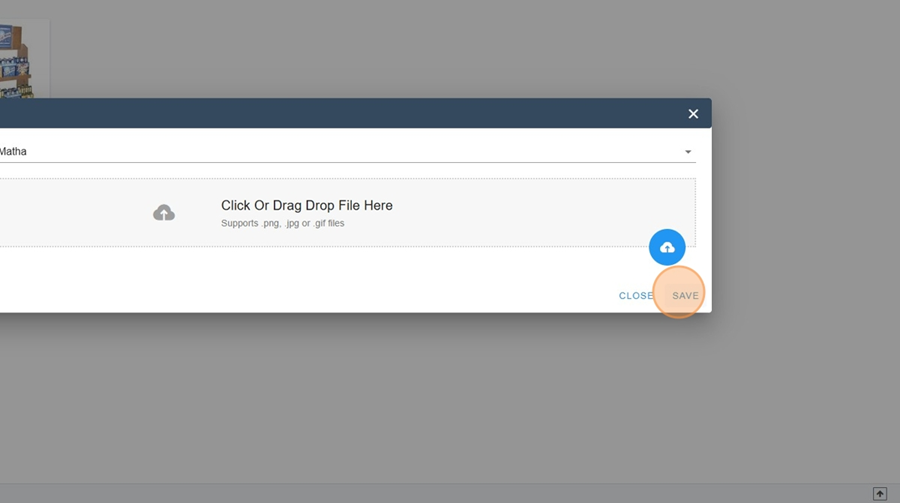
Then type the store you want to associate your photo with into the writing bar.
Next, upload the photo to the designated space.

Don’t forget to save.