You can configure your own view according to your needs.
My Notes > Configure a view
To configure the view as you want (e.g., remove, move, or add columns), you can refer to the Configuration of Views page on Pawa.
Configure a view in Pawa
This page explains the view configuration options in Pawa
My Notes > Create a note
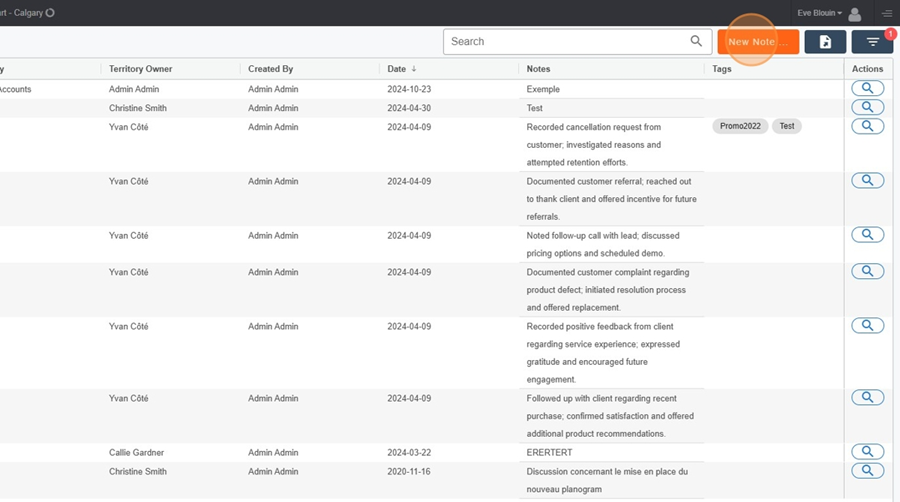
To create a new note, click on the orange rectangle at the top right of the screen labeled New Note.
Then select the account where the note will be created by typing the account name into the search bar located at the top left of the menu.
Then type the note in the dedicated field.
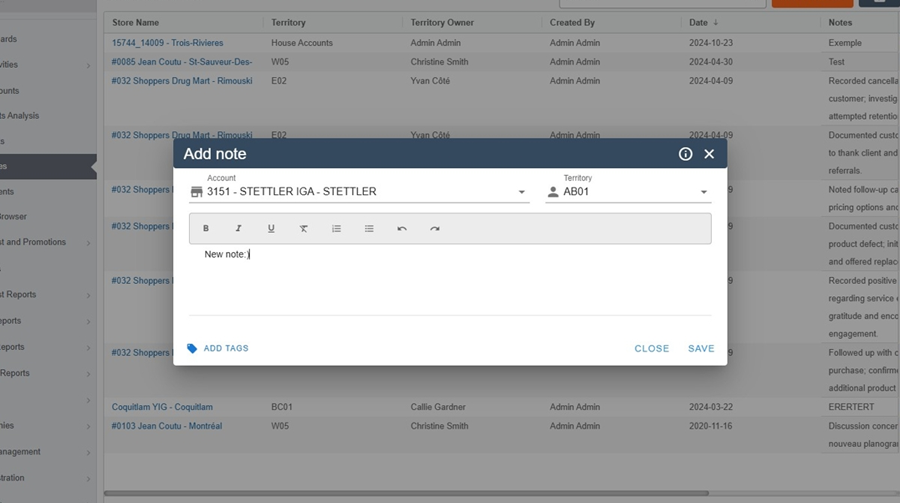
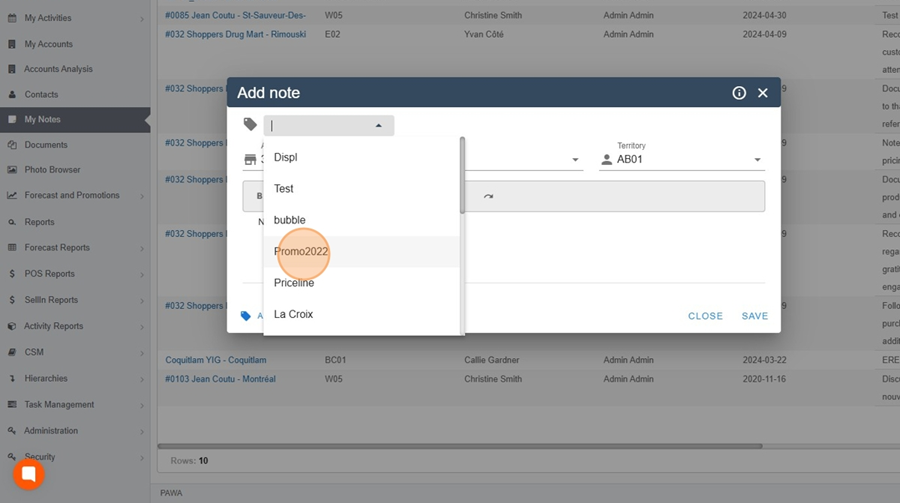
You can also tag your notes by clicking on the Add Tags option at the bottom of the menu. Then you can choose one or more tags from the dropdown menu.
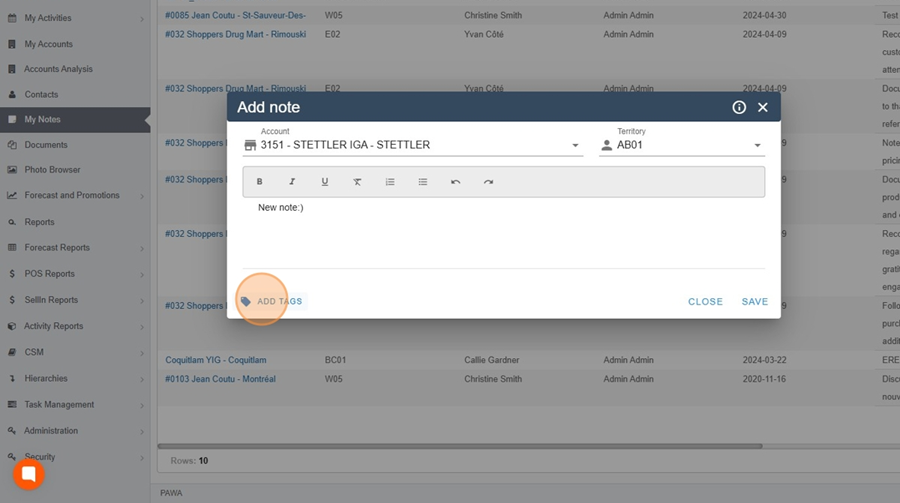
Here, for example, we would like to indicate that this note is part of the 2022 promotion.
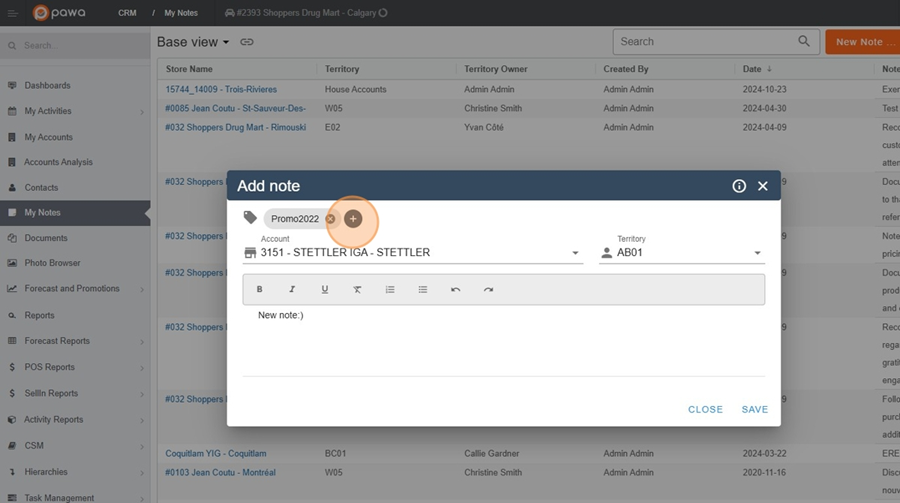
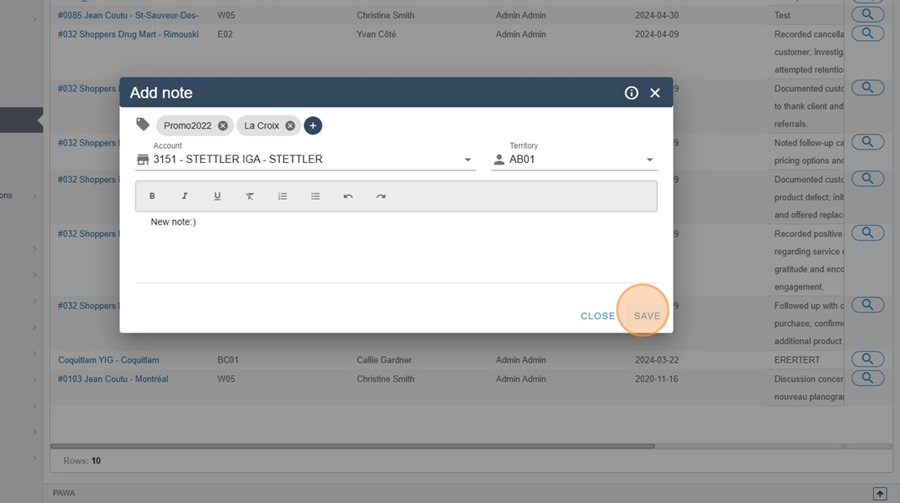
The selected tags will be displayed at the top of the note. To add more than one tag, click on the + icon located at the top of the menu.
Don't forget to click save when finished.
My notes > Delete a note
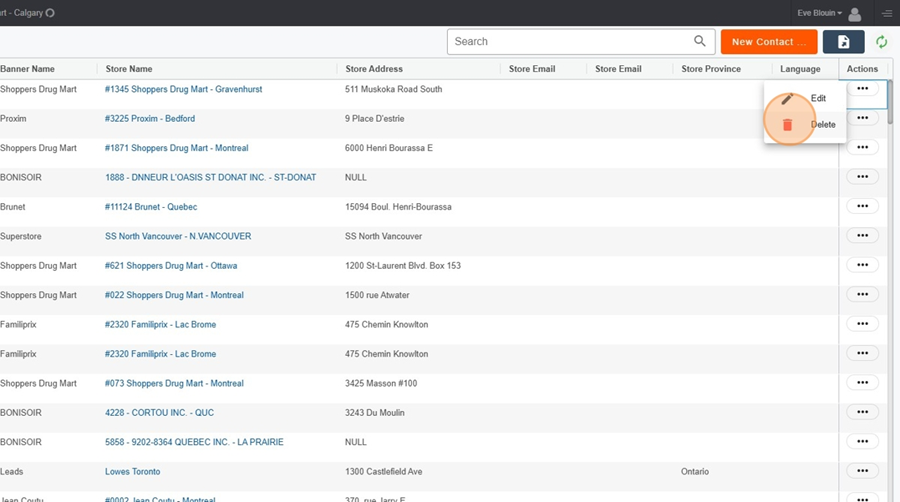
To delete a note, click on the 3 dots at the end of the note.
Then click on the trash icon that appears in the dropdown menu.
Click on the Yes option.

My notes > Filter notes
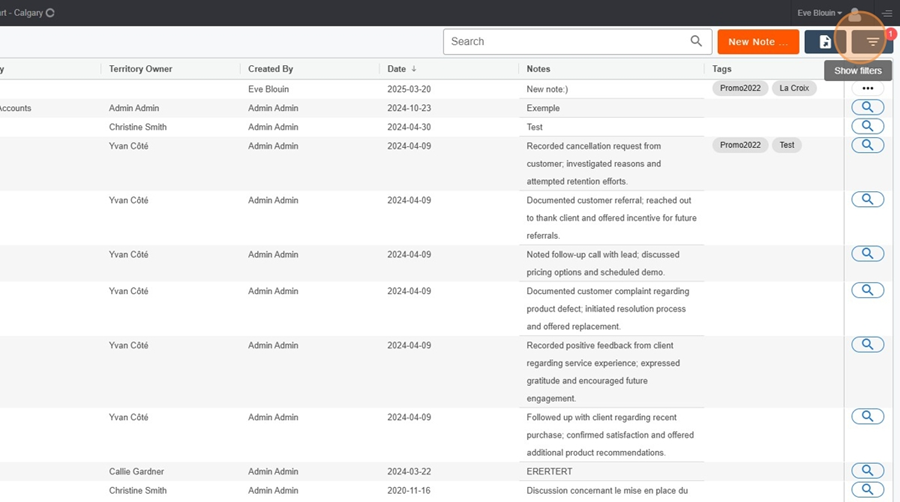
It’s possible to filter notes, for example, to view notes with the same tag.
Click on the filter icon located at the top right of the screen.
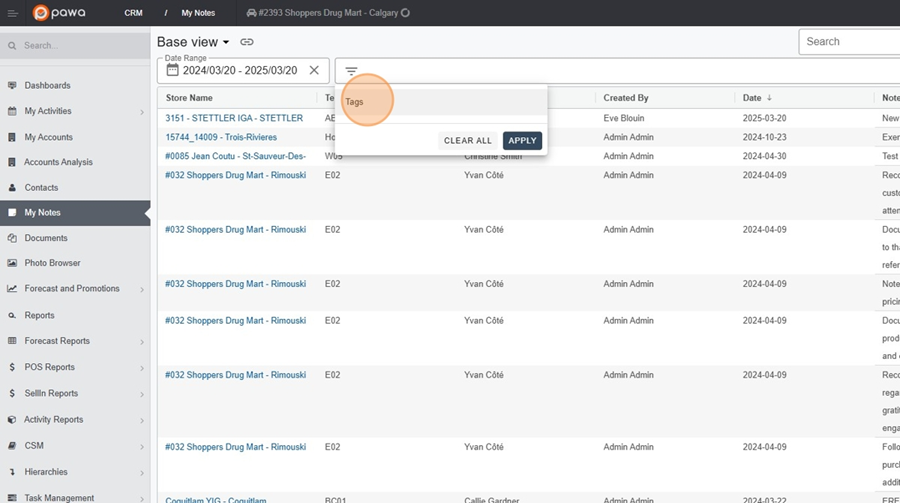
Click on the filter bar that appears at the top of the screen.

Click on the option Tags.
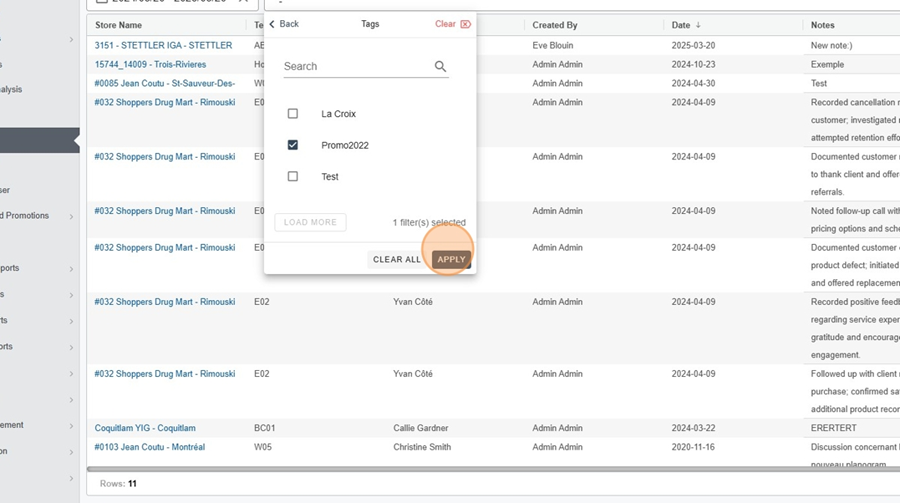
Select the desired option(s) from the dropdown menu.
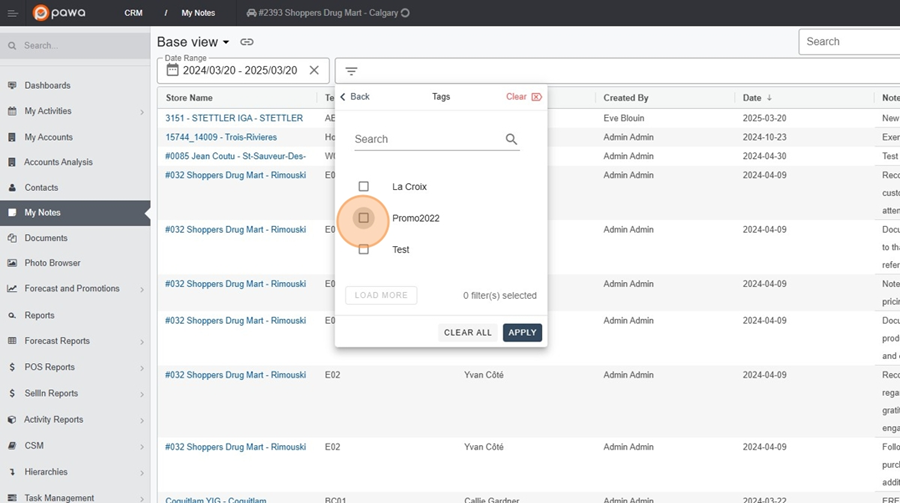
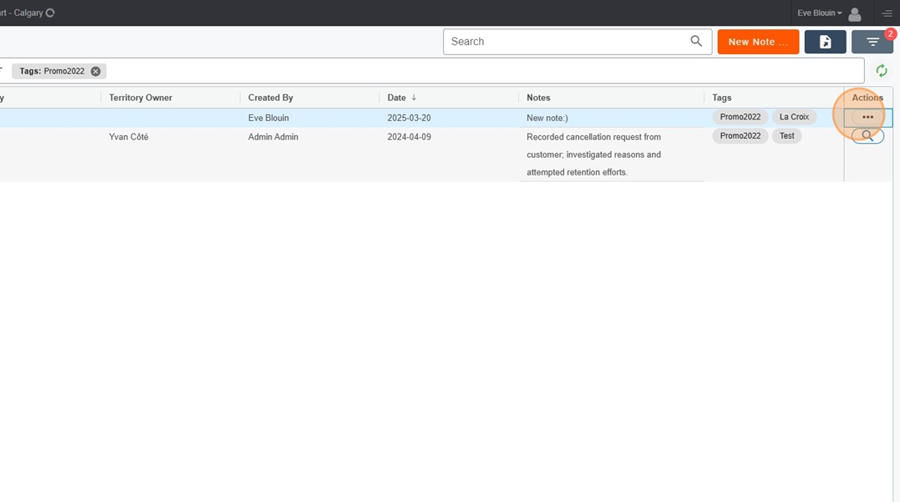
Click on Apply.
You will then be able to view only the notes tagged based on your selection.
My notes > Edit a note
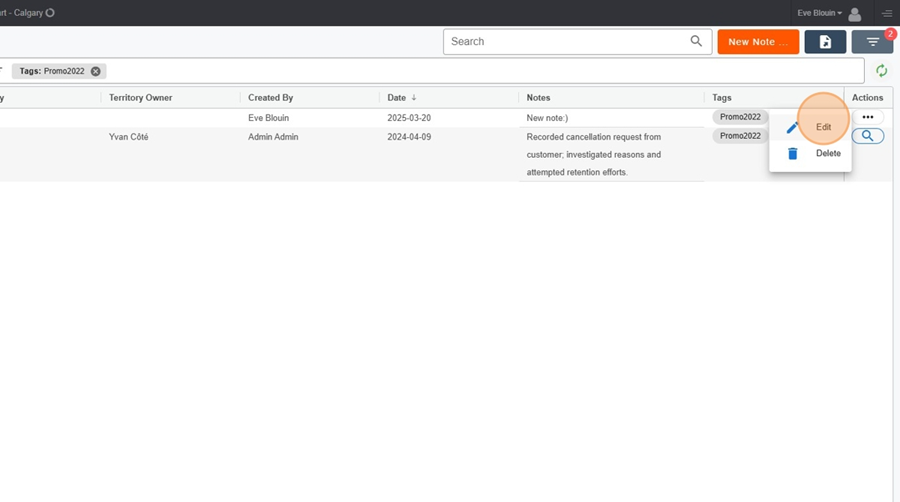
To edit a note, click on the 3 dots at the end of the note.
Select the pencil icon from the dropdown menu.
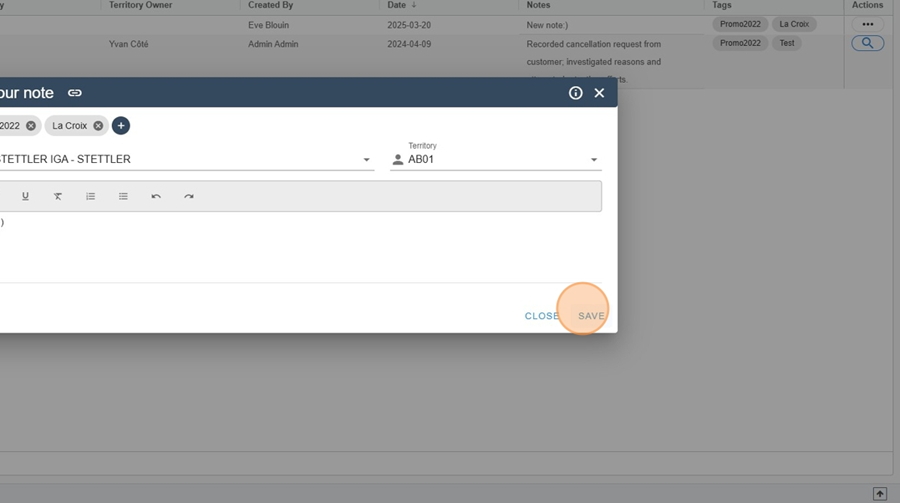
Make the desired changes.

4. Click on save, at the bottom right of the menu.
By default, notes from the last 12 months will be displayed. However, it is possible to select a different time range.
My notes > Select a time range
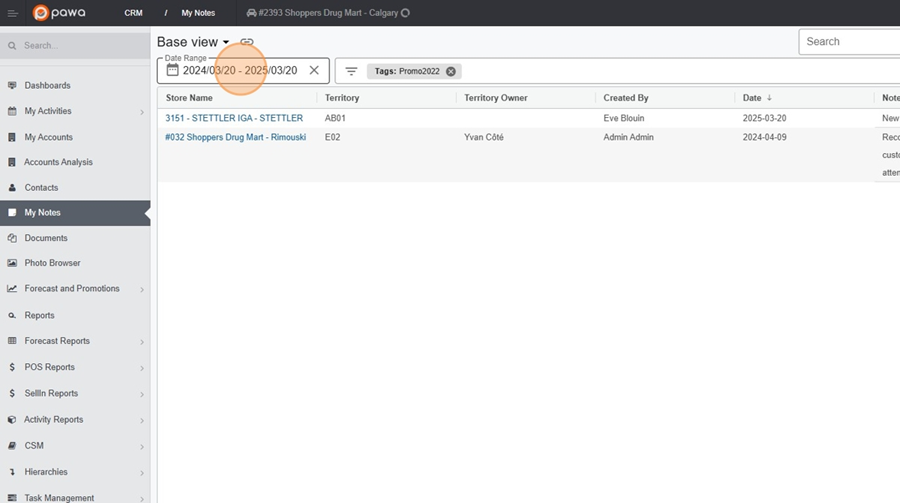
Click on the time range displayed at the top left of the screen.
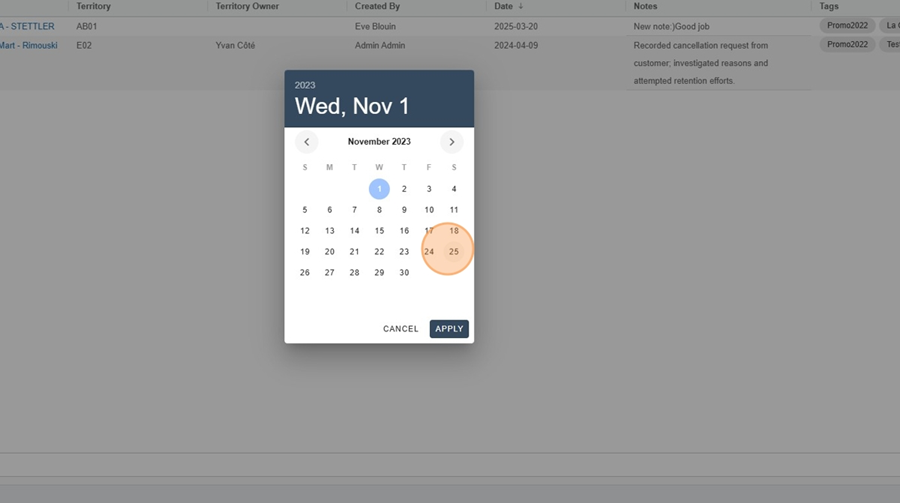
Use the arrows to navigate through the calendar.
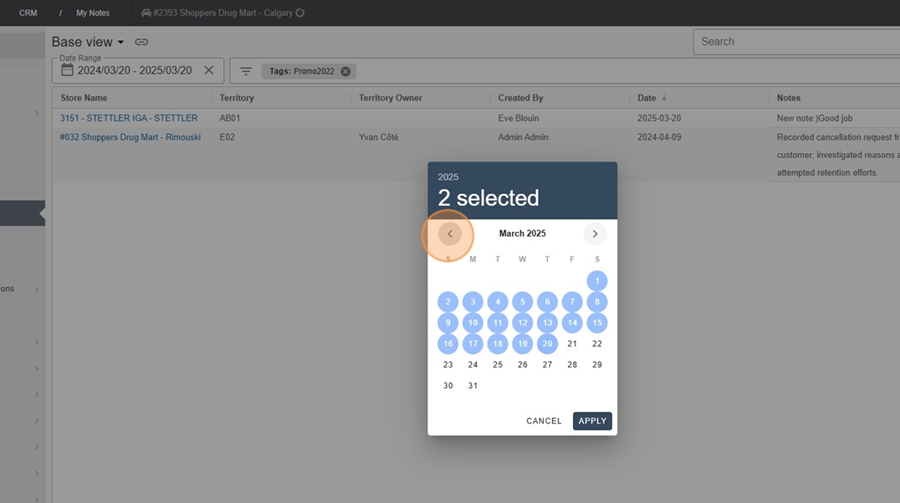
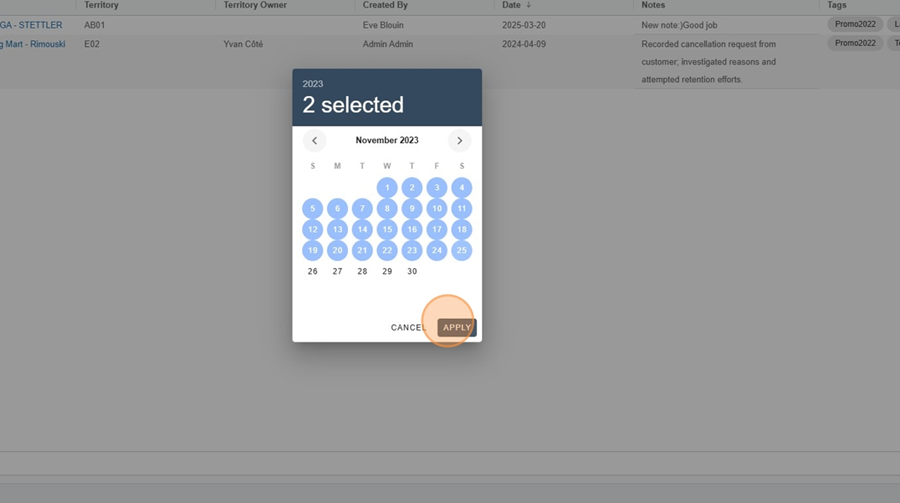
Select the start and end dates for the time range you want to view.
Click on the apply button at the bottom right.
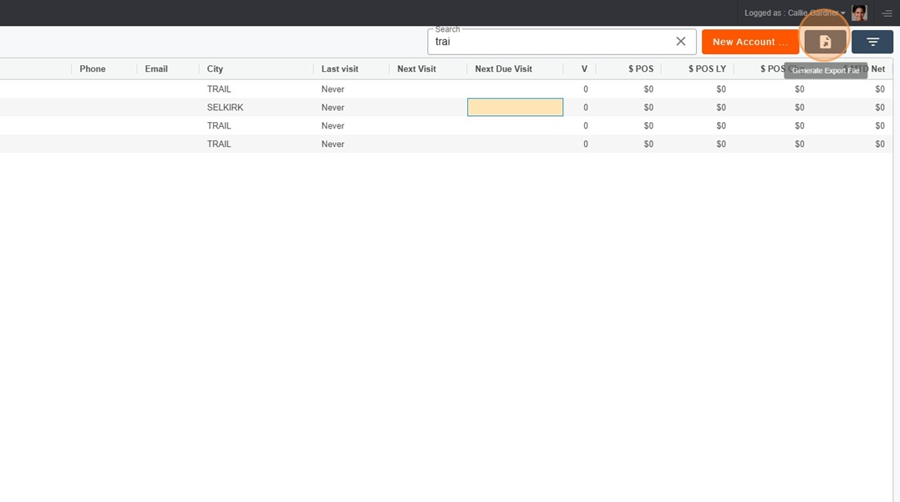
The search bar located at the top right of the screen allows you to search and filter information.
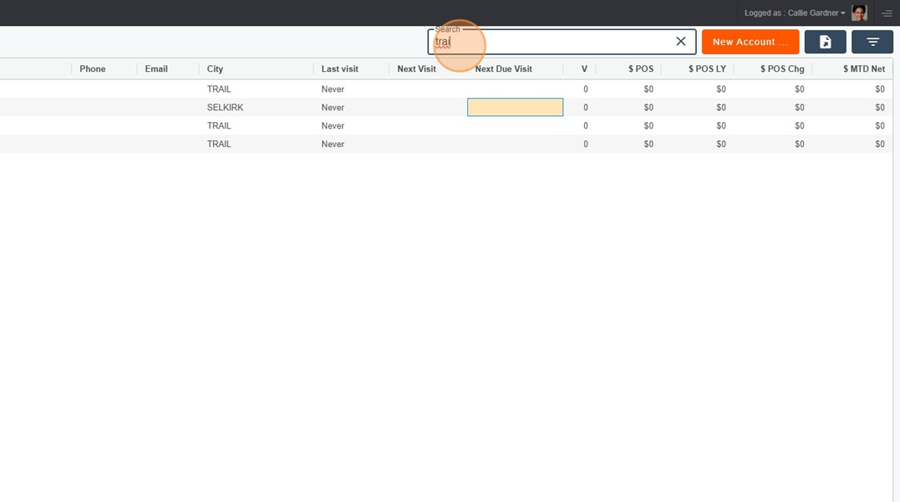
To export the data to Excel, just click on the floppy disk icon at the top right.